

Workflow Testing and Execution History
Test a response workflow against a real Zendesk ticket, review saved executions, and debug failures or escalations.
Use the test panel to check a response workflow against a real Zendesk ticket before you publish changes widely. Then use execution history to review saved runs, inspect failures, and see the exact input, output, and metadata recorded for that workflow.
When to use each tool
Use the two surfaces for different jobs:
- Test Panel for rapid validation while you are editing a workflow
- Execution History for reviewing saved workflow runs after the workflow has been used
The test panel is temporary. Execution history is recorded.
Run a test from the editor
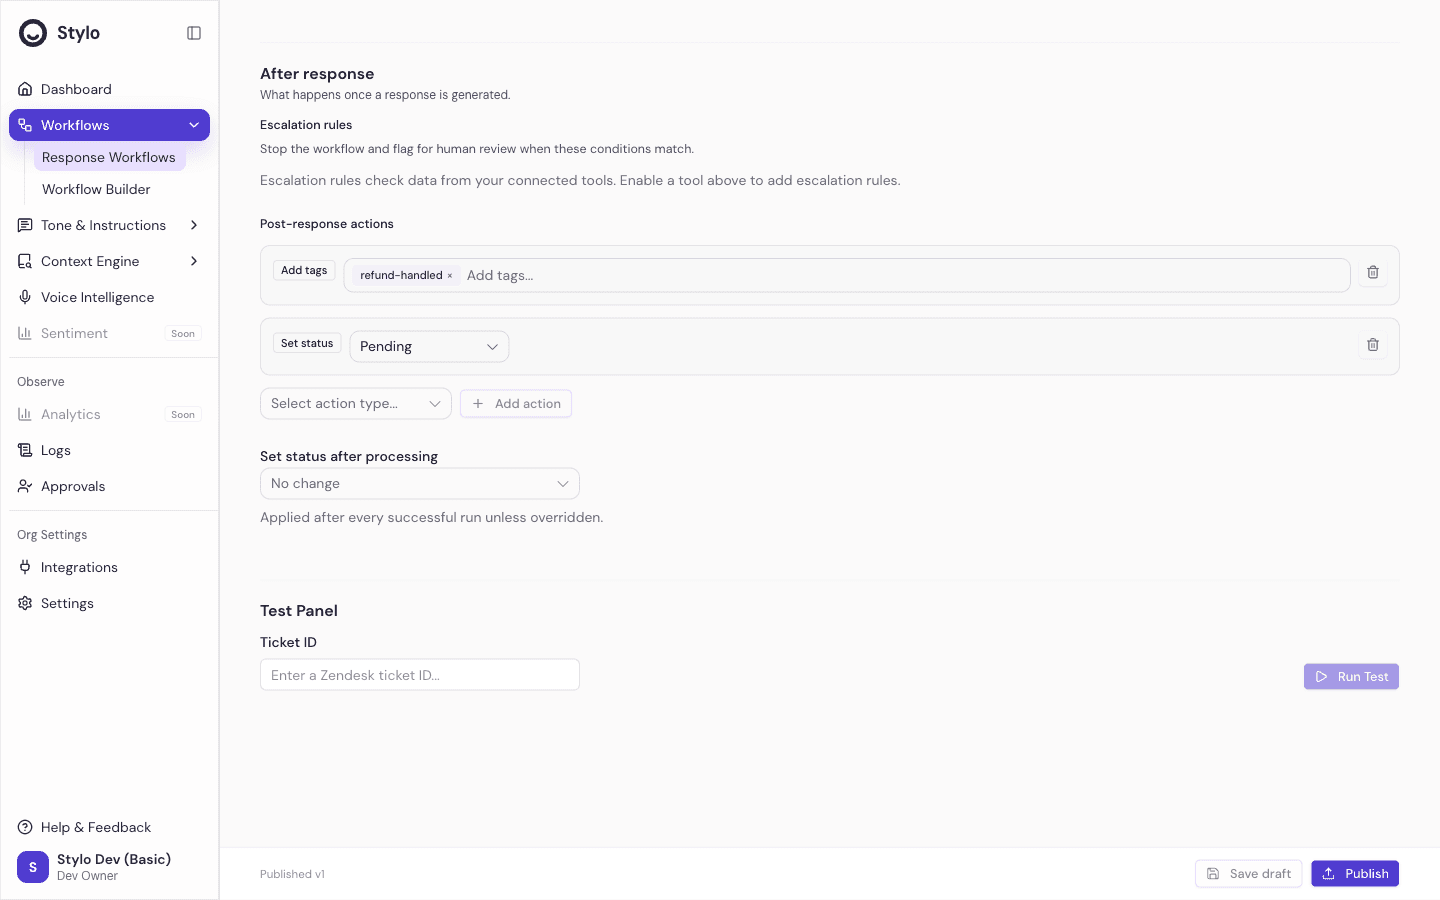
Open the workflow editor and use the Test Panel at the bottom of the page.
- Enter a Zendesk ticket ID.
- Select Run Test.
- Review the returned result before you save or publish.
The test uses the current editor state, including unsaved changes. That means you can test strategy instructions, template edits, tools, escalation rules, and knowledge base selections before you publish a new version.
What the test panel shows
After a test run, Stylo can show:
- A generated response when no escalation rule blocks the run
- An escalation result with the matched rule reason
- Tool output for any tool calls used during the test
- Response mode as
template,guided, orhybrid - Model and token usage details when available
- Run time in milliseconds
- The count of unresolved placeholders
What the test panel does not do
The test panel is designed for editing, not production tracking.
- It does not save an execution record to history
- It does not require you to save the draft first
- It does not publish a new workflow version
- It depends on Zendesk being connected and on a real ticket being available
If Zendesk is not connected, the test request fails. If the ticket ID is invalid or the ticket cannot be loaded, the test also fails.
Use execution history
Select Executions from the workflow editor header to open the saved run history for that workflow.
Execution history helps you answer questions like:
- Did this workflow succeed, fail, or remain pending?
- What trigger started the run?
- What input and output were recorded?
- Was there an error message?
- How long did the run take?
The history page lists the most recent executions first.
What each execution record includes
Each execution row shows a compact summary first, then expands to reveal the recorded payloads.
- Status such as
pending,running,succeeded, orfailed - The created time
- The trigger that started the run
- The user ID for the person who started it, when present
- Duration when timing metadata is available
- Error text for failed runs
- Recorded
input,output, andmetadataJSON when you expand the row
Limits and boundaries
Keep these operational limits in mind:
- Execution history is permission-gated. Users without execution history access cannot view it.
- The response workflow history view shows the most recent 50 executions for that workflow.
- The current response workflow history page is a list view with expandable JSON. It does not provide a separate execution detail page like the broader workflow builder.
Recommended review workflow
Use this sequence when you change a workflow:
- Run the test panel against one or more representative Zendesk tickets.
- Fix any escalations, placeholder gaps, or tool output problems.
- Save and publish the workflow when the result is acceptable.
- Monitor Executions after real usage begins.
- Open failed or unexpected runs and inspect the stored input, output, and metadata.
Related
- Creating a Workflow to build the workflow before testing
- Workflow Editor to understand where editing controls live
- Escalation Rules to tighten workflow guardrails
- Background Automation to understand the higher-risk execution path