

Members and Access
Invite teammates, manage pending invitations, and use join links safely in Stylo.
Getting the right people into your Stylo workspace — without handing out more access than you mean to — comes down to three tools. This page covers when to invite someone directly, when to share a join link, and what happens when a person accepts.
The three ways to add people
The Members settings page gives you three access tools:
- Invite Member for sending a direct invitation to one email address
- Pending Invitations for tracking and revoking invitations that have not been accepted yet
- Join Links for creating reusable links that let people join with a preset role
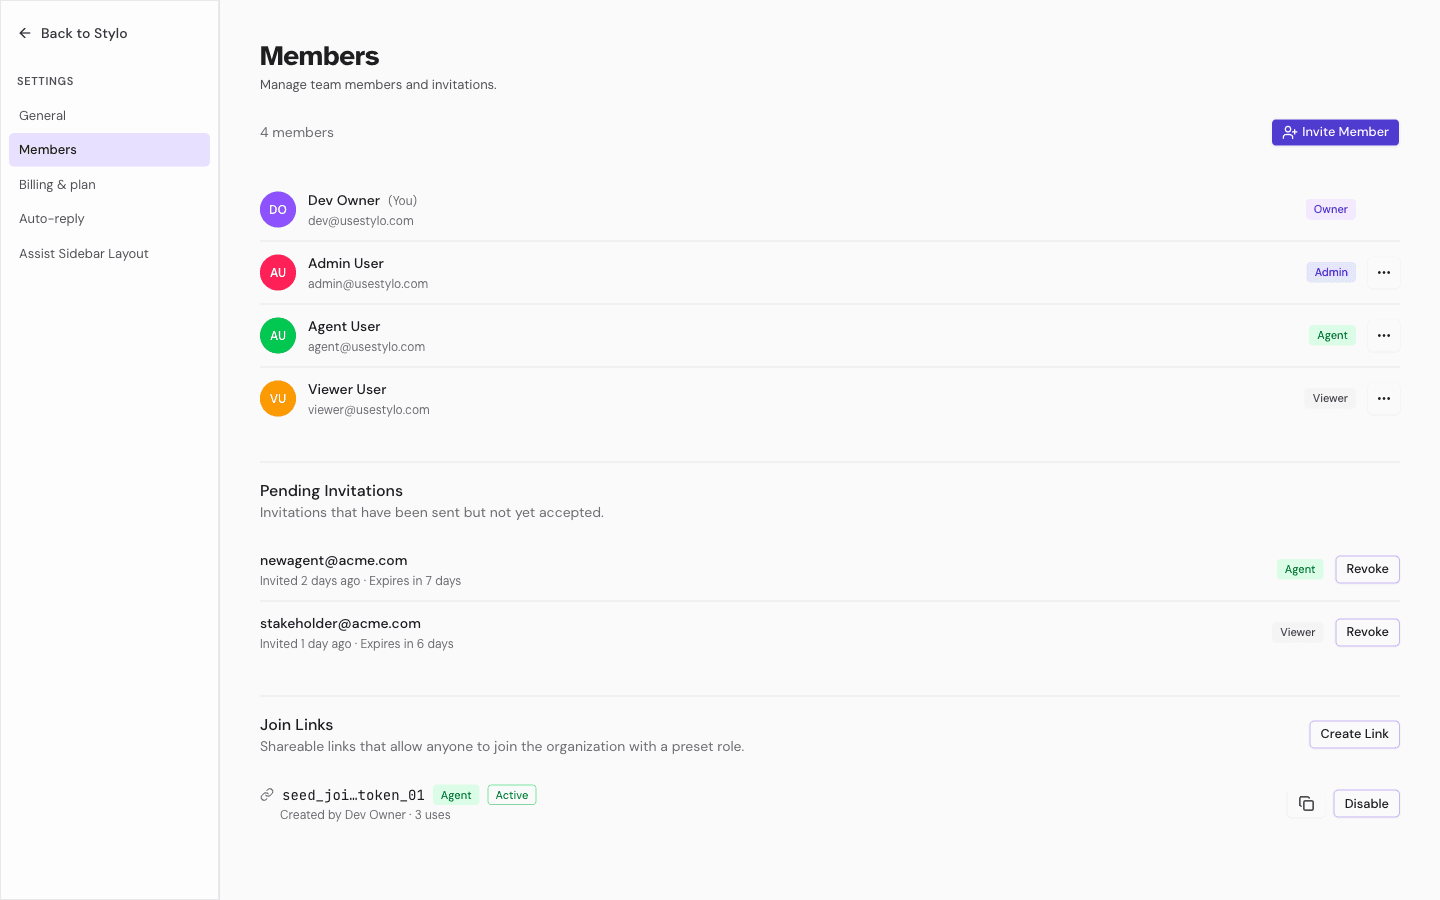
When to use each access option
Choose the access path based on how tightly you need to control who joins.
- Use an invitation when you know exactly which person should join
- Use a join link when you want to onboard a group with the same role
- Use the member list when you need to review who already has access
If you need tighter control, prefer invitations over join links.
Invite one person by email
Use Invite Member when access should go to a specific email address.
When you send an invitation, you choose:
- The teammate's email address
- A role: Viewer, Agent, or Admin (the dialog defaults to Agent)
After the invite is sent:
- The invitation appears in Pending Invitations
- Stylo sends an invitation email
- The person must accept the invitation before they become a workspace member
If the person is already a member or already has a pending invitation, the invitation request is rejected instead of creating a duplicate.
How invitation acceptance works
Invitations are tied to a specific email address.
When the invited person opens the invitation:
- If they are not signed in, they are prompted to sign up or log in
- If they are signed in with the invited email address, they can accept the invitation
- If they are signed in with a different email address, Stylo blocks acceptance and asks them to sign out and try again with the correct account
This is the safest option when access should go to one known person.
Manage pending invitations
Use Pending Invitations to see which invites are still waiting for acceptance.
For each pending invitation, Stylo shows:
- The invited email address
- The role that will be assigned
- When the invitation was sent
- How long until the invitation expires
Invitations expire 7 days after they're sent. You can revoke a pending invitation at any time; revoking it prevents that invitation from being accepted later.
Use join links carefully
Use Join Links when you want a reusable access path instead of sending one invitation at a time.
When you create a join link, you choose:
- A preset role: Viewer, Agent, or Admin
- An optional Max uses limit — leave it blank for unlimited uses
Join links are designed for broader sharing than invitations. Anyone with the link can use it while the link is active and within its usage limit.
For that reason:
- Use join links for controlled group onboarding
- Avoid using an admin join link unless you are confident it will stay tightly shared
- Disable a link when you no longer want it used
For each join link, Stylo shows:
- The assigned role
- Whether the link is active
- How many times it has been used
- The max use limit, if one was set
Active links can be copied and disabled from the Members page.
How join link acceptance works
Join links do not use the same email-match check as direct invitations.
When someone opens a join link:
- If they are not signed in, they are prompted to sign up or log in
- If they are signed in, they can join the organization with the role assigned to that link
This makes join links faster for group onboarding, but less restrictive than direct invitations.
Roles
Stylo has four roles. The invite and join-link flows can assign Viewer, Agent, or Admin; Owner is assigned only through ownership transfer, never through an invite or join link.
| Role | Invite / manage join links | Change roles, remove members | Transfer ownership |
|---|---|---|---|
| Viewer | No | No | No |
| Agent | No | No | No |
| Admin | Yes | Yes — but cannot remove or demote another Admin | No |
| Owner | Yes | Yes | Yes |
What each role is for:
- Viewer — visibility without operational control.
- Agent — day-to-day workspace work.
- Admin — manage workspace access and settings.
- Owner — full control, including ownership transfer.
When an Admin sends an invite or creates a join link, they can only grant Agent or Viewer — not Admin or Owner. Owners can grant any assignable role.
Role boundaries that matter on this page
The Members page also includes role and removal controls for existing members. A few rules matter when you manage access:
- Agents and Viewers cannot invite users or manage join links
- Admins can invite users, manage join links, change roles, and remove members
- Admins cannot remove other admins
- The Owner cannot be removed directly
- The Owner role cannot be assigned through the invite or join link flow
If ownership needs to change, that is a separate ownership transfer workflow rather than a normal role edit.
Practical examples
Use an invitation when:
- You are adding one new support lead as an Admin
- You need to make sure access goes only to one exact email address
Use a join link when:
- You are onboarding a training group of new agents with the same role
- You want to cap access with a Max uses limit
Use revoke or disable when:
- An invite was sent to the wrong person
- A shared link should no longer be usable
- A temporary onboarding path is complete